Photography 101 – Working With ISO to Get That Brightness
February 4, 2016Back at you as promised for this photography mini series about how to use your camera with manual settings. The first week we talked about how to avoid photography blunders, last week I showed you how to achieve that blurry background by working with aperture and this week we are going to talk about ISO settings. Mini refresher, manual mode has 3 main settings, shutter speed, aperture and ISO. If you didn’t read last weeks post, I insist you do to now so you will be up to speed for today. I’m going to show you what I think is the easiest setting out of all 3 on the manual mode switches. Today we are talking about ISO.
Pin Me. Manual Settings Tutorial: Working with ISO Photography Settings

The most simple way to think about ISO in my mind is “bring in light to the situation“. I really don’t like working with flash. There are a few situations that call for it but it’s pretty rare for what I use my camera for. I think if you know your three settings, you can avoid flash. Flash just looks so harsh, adds a weird artificial light and shadows. So how would you need to play around with ISO you ask Amanda. Well, any room/situation that is dark and needs light added, that is when you increase your ISO. When do you want little or no ISO added? When you are outside and there is plenty of light. Remember though, the higher you go up with your ISO, the more “noise” you add to a picture. Basically it makes it a little more grainy, less sharp and when you zoom in, you tend to lose that crispness. However, I’d rather have the shot with a higher ISO photography than miss the shot with a dark setting. Okay let’s practice.
Here is the exact same shot with the shutter speed and aperture set exactly the same. Shutter speed 1/100 and aperture with a F-stop of 3.5. Now that tells us right off the bat we are inside and need light coming in right? Slower shutter speed allows for the shutter to stay open longer but can lead to blur if your hands aren’t steady. F-stop lower down allows more light in to focus on the front object and blur the background. Now lets play around with the ISO so you see how it works. I should note I am shooting with this camera, this lens and I haven’t edited any pictures besides adjusting the size so they will upload faster.
The perfect combo for this setting, shutter speed 1/100, F-stop 3.5 and ISO 800

Now here is what it looks like when you start increasing the ISO, watch what happens. Shutter speed 1/100, F-stop 3.5 and ISO 1600.

Shutter speed 1/100, F-stop 3.5 and ISO 3200.
See how blown and unusable this is at the ISO this high? Shutter speed 1/100, F-stop 3.5 and ISO 12800.
Now let’s go the other way. Not enough ISO in a picture. Granted you can always lighten a picture at the end but let’s be honest, editing takes so much time and the more you edit, the more you compress and lose the quality of your picture.
Shutter speed 1/100, F-stop 3.5 and ISO 400.

Shutter speed 1/100, F-stop 3.5 and ISO 200. See how dark this is with the ISO at that setting?
Another shot. Let’s practice again. Shutter speed 1/100, F-stop 3.5 and ISO 800.
Now ISO making the photo too bright Shutter speed 1/100, F-stop 3.5 and ISO 3200.
I kind of like how moody this picture looks but the ISO is too low and the picture is dark. Shutter speed 1/100, F-stop 3.5 and ISO 400.

Are you starting to see how ISO works now? Okay let’s compare indoor shooting with ISO vs outdoor shooting with ISO.
Shutter speed 1/100, F-stop 3.5 and ISO 800.

Now taking it outside see how the shutter speed and ISO need to change not to make this picture overly brightened and you can see the colors in the bike.
Shutter speed 1/400, F-stop 2, ISO 100.
Okay your turn. This picture was taken outside, at 9 in the morning with sun out but not directly hitting me. What would you set your camera for?

Settings were shutter speed 1/100, F-stop 2.0, ISO 100. The hint was we were outside. Outside = plenty of light and lower ISO.
What would you set your camera for in this one? Inside with fluorescent lights and my back is to the door that is open and letting some light in.
You’re learning right? Hint was we were inside so you have to increase that ISO. Shutter speed 1/100, F-stop 3.5 and ISO 800.
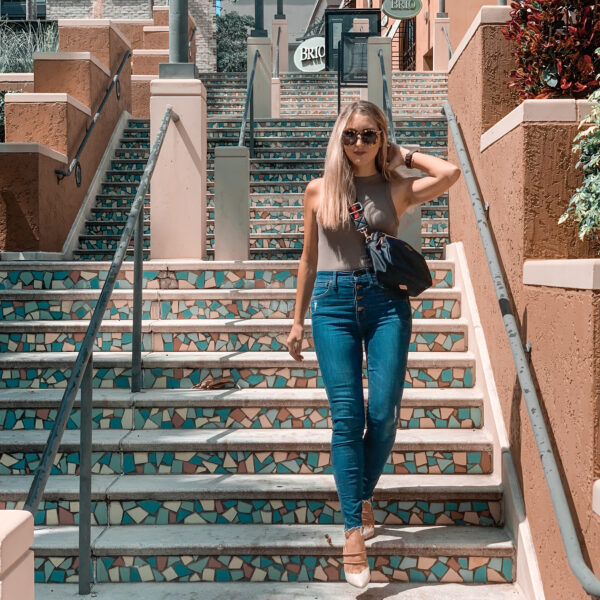
Last one. Outside, 8 in the morning. Cloudy with no sun. You want all the details of the outfit and don’t need to blur the background much. What would you set your camera at?
Boots Society here ||| Dress sold out similar here ||| Tights here ||| Sunnies Karen Walker here
Shutter speed 1/200, F-stop 5.6, ISO 200. You need to increase it just slightly because it is cloudy out but not too much to overexpose the shot.
How did you do? Did you guess right?? You guys are on your way to taking your camera off that automatic mode and shooting like a pro. Now get out there and practice!
[bctt tweet=”Blogging Photography Tutorials – Working with ISO to achieve the perfect light for your pictures. Must read tutorial! “]
If you like this post I’d love for you guys to pin and share it. Have you been practicing after last weeks tutorial? Are you getting those blurry backgrounds yet? Next week we will talk about working with your shutter speed. You can find all these blogging tutorials under my blogging freebies tab at the top of the page. Hope everyone is having a great week!


Look at you getting all fancy with your camera tutorials! I remember when you first got your camera and you were still trying to figure out how to use it and now your a pro! Oh and how cute is that coffee table?! <3, Pamela Sequins & Sea Breezes
Understanding ISO is tricky at first, but your pictures perfectly lay out the rhyme and reason!
Love this! ISO is so hard sometimes. Pinning for reference. Love this series, keep it coming!
Xoxo,
Whitney & Blaire
Peaches In A Pod
This is so interesting! I am hoping to save up for a DSLR camera now that I’m out of college and have a full time job! Saving these posts so I can learn how to use it!
Great post. It get so frustrated with my camera not doing what I want it to :)
That restaurant in your pictures looks yummy.
Traci
waltzmetoheaven.com
I just started playing my ISO settings last week. These tutorials have been so awesome! I just ordered a new lens and I am literally referring to your posts for help ;)
Awesome tips!
Once you learn to work the camera, the world is your oyster! ;)
This is a great tutorial! I’ve been trying to learn more about ISO, aperture and shutter speed. These guides have been so helpful!
You are the best!! Loving these photography tutorials!
I love how simple you make something that has been complicated to me. It’s so helpful to see the different pictures to visualize the difference in the settings. Tweeted and pinned!
Pinned! Thanks for another great tutorial!
I love your description of how to make this work. Just as helpful as the last photography post!
Absolutely amazing tips girl! I try to avoid using the flash too, and could really use all the help I can get. Pinning <3
Green Fashionista
Love the tips lady! Great series! You make it simple for everyone to understand.
I love this little series you’re doing. photography really is an art to be mastered. I personally need to take more time play around with it, this is inspiring me!
Good post! Most people probably dont give much thought to ISO but it plays SUCH an important role!!! & lighting is KEY in all things photography!
You always have the best photography tips!! I will be saving this for later, so much to learn :) Now pass me an Ace Pineapple, would ya? What was the Apple/Lemon/Cherry thing at the very bottom? Mmmmm!!!!
Such an amazing guide to show how ISO works. I have all 3 of your photography guides saved to reference this weekend since I’m going to make an effort to play around with my camera and figure out the how the settings work. I’ve had the camera for over a year so it’s about time!!!
I really need to work on my photography and I thank you so so much for all these tips. I am pinning them all. Much appreciated, thank you for sharing your knowledge!
Such an awesome tutorial! IOS is so important for the perfect lighting!
<3 Shannon
Upbeat Soles
Great post!!! Everything you’re saying is spot on!
I am LOVING these tutorials. The picture examples are perfect for my brain and how it learns. I always forget to fiddle with the ISO *forehead slap* but this is a GREAT reminder!
These are awesome comparison photos! Cool post idea, girl!
This is so helpful. I take all my photos inside because a) my husband does not want to help and b) I live in a snowy tundra place and it limits my options. I struggle with light all the time and this will help immensely. Thanks! http://mymonochromaticlife.com
More great tips from you! Totally agree, flashes provide ugly, harsh light full of shadows. And while there’s never a real replacement of natural light, this definitely helps fine tune a photo!
I’m so thankful for the capacity of ISO – so much easier than having to carry all the different speeds of film around! I generally shoot between 100-400 for the brightest colors, but it’s fun to play with the higher ISOs at night, too!
Great post! I can’t wait to read more and practice with my camera. I have a bad habit of just pointing and shooting. I really need to invest the time in learning more about how my camera works. This post is very helpful!
These tips have totally helped when it comes to my camera. However, I notice how limited the ISO is on my current camera. I have been trying to find one that takes good photos for my blog but also fits a budget. I have been looking at the Canon EOS Rebel. Not too crazy expensive, but a nice upgrade from what I’m currently using. Do you have any experience with Canon DSLR cameras? Heard anything about the EOS?